Authentic Thai Recipe for
Crispy Pork Belly with Peppers
Authentic Thai Recipe for
Crispy Pork Belly with Peppers
หมูกรอบผัดผริกหยวก (Moo Grob Pad Prik Yuak)
Currently rated: ![]()
Rated 4.5 Stars from 3151 reader reviews
First published on February 27, 2015
Recipe by W. Tipsuwan

Yield: 2 servings
Prep time: 2 Minutes
Cooking time: 3 Minutes
Ready in: 5 Minutes
Ingredient List:
- 1 Cup Crispy Deep-fried Pork Belly
- 4 - 5 Wax peppers
- 2 Green onions
- 1 Thai Long Chilies
- 2 large cloves Garlic
- 1 Tablespoon Oyster Sauce
- 2 teaspoons Light Soy Sauce
- 1 teaspoon Dark Sweet Soy Sauce
- 1 teaspoon Sugar
About my Moo Grob Pad Prik Yuak:
About my Moo Grob Pad Prik Yuak:
Pad Prik Yuak is a deliciously rich and slightly sweet stir fried dish made with mild green chilies and garlic. You can use any kind of meat, or leave it without. This recipe includes Moo Grob, our crispy deep-fried pork belly, cut into thin slices and then cooked together with a generous portion of fresh garlic, oyster sauce, dark sweet soy sauce, and more. For extra color we added the mild red chili. If you are not fond of our hot and spicy stir fries, then this dish is for you. It it simply bursting with wonderful flavors, and takes less than 5 minutes to prepare.
Step by Step Directions:
Step by Step Directions:
How to Make Moo Grob Pad Prik Yuak
How to Make Moo Grob Pad Prik Yuak
Step 1
To make this amazing dish you need to have some prepared moo grob, our crispy pork belly. It is quite time consuming to make, but a real treat to eat. Here is the recipe. If you don't have moo grob ready and want to make this dish right now, then just use some sliced pork or chicken and it will come out great.
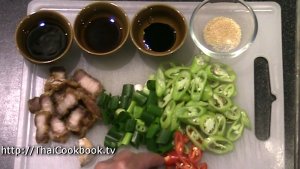
Prepare and measure all the ingredients before you start cooking. Slice the chilies diagonally so they look nice. Cut the green onion into 1 inch pieces. Remove the shells from the garlic, and get the sauces and sugar ready.
Step 2
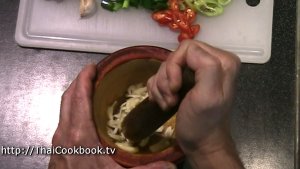
Use a mortar and pestle to crush the garlic, leaving some nice big chunks. If you prefer, use a garlic press but not a chopper. You need to really push the juices out of the garlic to get the most flavor.
Step 3
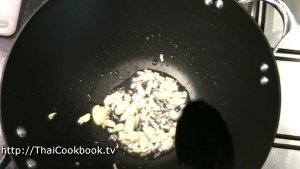
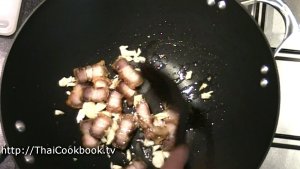
Add 1 Tablespoon of vegetable oil to a wok or deep frying pan. Keep the heat low and add the garlic. Just fry it slowly for about 15 - 30 seconds.
Step 4
Add the pre-cooked pork belly slices. Just stir them in and let it get hot for about 1 minute. If you are substituting raw pork or chicken, then cook it in the garlic until it is cooked all the way through.
Step 5
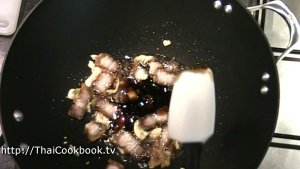
Add the oyster sauce, soy sauce, dark soy sauce, and sugar. Stir it in and turn up the burner as high as it will go.
Step 6
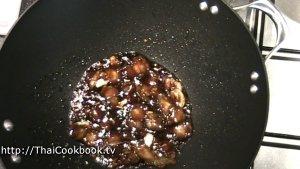
Let the sauces and sugar melt together over the high heat, and cook down into a thick sauce with the meat. Keep stirring. A little sticking and browning on the pan is good, but be sure not to burn it.
Step 7
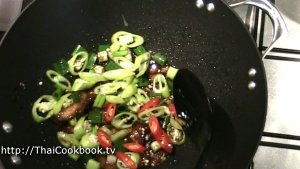
Add the peppers and green onion. Stir into the sauces and mix it up well. Fry for about 1 minute, stirring and flipping from the bottom.
Step 8
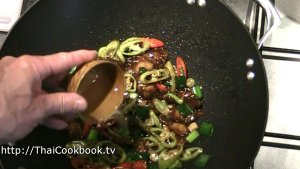
Add about 1/4 cup of water - not too much. Stir it into the pan and wash all of the sticky sugar back into the sauce (deglaze) to make a rich and flavorful gravy.
Step 9
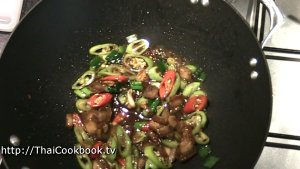
Cook for about 30 seconds, or until it gets really hot again. Do not overcook the peppers, as you want them to be firm and crisp.
Step 10
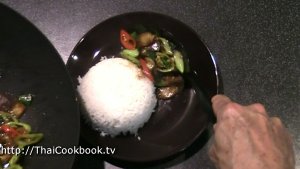
Serve immediately on a small plate with a serving of very hot steamed rice for a one-dish meal. Or put both servings on a plate to be shared at the table with rice and other foods.
