Authentic Thai Recipe for
Deep Fried Sun-Dried Pork
Authentic Thai Recipe for
Deep Fried Sun-Dried Pork
หมูแดดเดียว (Moo Dad Deaw)
Currently rated: ![]()
Rated 4 Stars from 5892 reader reviews
First published on March 6, 2015
Recipe by W. Tipsuwan
Yield: 10 servings
Prep time: 3 Hours
Cooking time: 5 Minutes
Ready in: 3 Hours, 5 Minutes
Ingredient List:
- 500 Grams Pork Tenderloin
- 4 - 5 Coriander Roots
- 3 - 4 large cloves Garlic
- 1 teaspoon finely ground White Pepper
- 2 Tablespoons Sugar
- 2 Tablespoons Oyster Sauce
- 1 Tablespoon Fish Sauce
- 3 - 4 Tablespoons Sesame seed
About my Moo Dad Deaw:
About my Moo Dad Deaw:
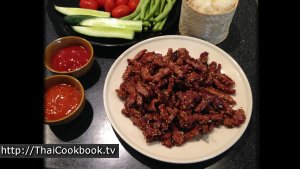
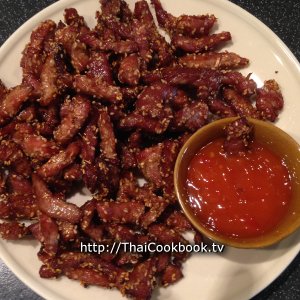
Moo Dad Deaw (หมูแดดเดียว) is a terrific and very authentic Thailand appetizer, made by sun drying seasoned strips of pork until they are semi-dried, then deep frying them to a flavorful golden brown. It is a little like jerky, but not hard and chewy. The meat is soft and juicy, and coated with a sweet marinade that is rich with the flavors of coriander root, garlic, and sesame seed. They can be served alone, or with one of our delicious dipping sauces. Add a few crisp, raw vegetables, such as cabbage, green beans, or cucumber, and some warm and chewy sticky rice, and you have an excellent Thai-style crudité platter for your next dinner party. If you don't eat pork, try this recipe with beef for an equally satisfying dish.
Step by Step Directions:
Step by Step Directions:
How to Make Moo Dad Deaw
How to Make Moo Dad Deaw
Step 1
Before doing this a recipe, choose a hot sunny day with no chance of rain, and select a drying location where you can lay a pan of meat in direct sun for at least 3 hours.
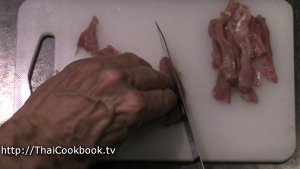
Trim away any fat or skin, then slice the pork loin into thin strips, about 2 inches long.
Step 1
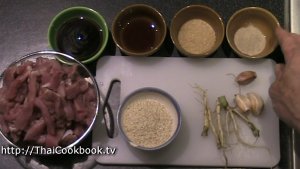
Measure and organize all the ingredients before starting.
Step 1
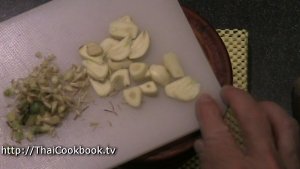
Clean the coriander roots well, then chop them up very fine. Peel the garlic cloves and chop them also.
Step 1
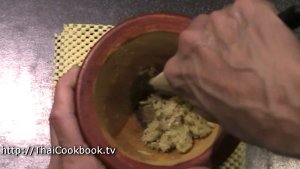
Grind the garlic and coriander roots into a very fine mush.
Step 1
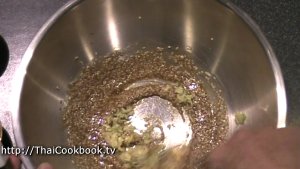
Blend everything together in a small bowl.
Step 1
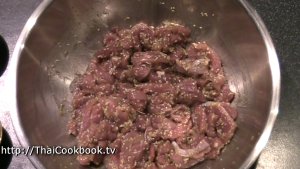
Add the meat to the marinade / sauce, and stir up well until it is evenly coated. Cover the bowl and let the meat sit at room temperature for at least one hour.
Step 1
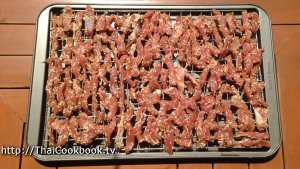
Arrange the marinated strips on an oven baking sheet, wire rack, large dish, or other type of flat pan. I use an oven rack so the air flows around and they dry evenly without much sticking. Sit in the sun for 2 - 4 hours, depending on how hot it is outside. Turn the strips over 2 or 3 times while drying so they dry evenly.
Step 1
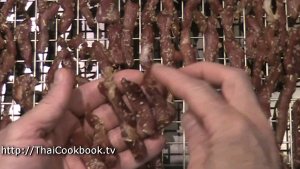
They are ready when the marinade is completely dry and the meat is soft and rubbery. It should be semi-dry, not hard and dry like beef jerky. The exact amount of time it takes depends the weather, so keep checking and take in when ready.
Step 1
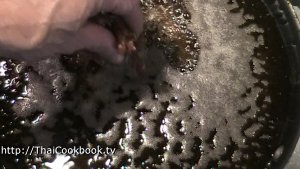
Use enough oil in a deep pan that the meat will float freely and not touch the bottom. If possible, check the temperature of the oil before putting the meat in. It should be in the low range for deep frying, so at about 140° C or about 284° F. If the oil is too hot the sesame seeds will burn and spoil the flavor, so be careful. It takes about 1 minute or so to cook them. They should be a nice golden brown color.
Step 1
Enjoy with spicy ketchup or other type of dipping sauce as a deleicious appetizer or snack. Add fresh cabbage, green beans, cucumber, or other type of crisp raw vegetable, and some sticky rice for a completely authentic Thai meal.
